
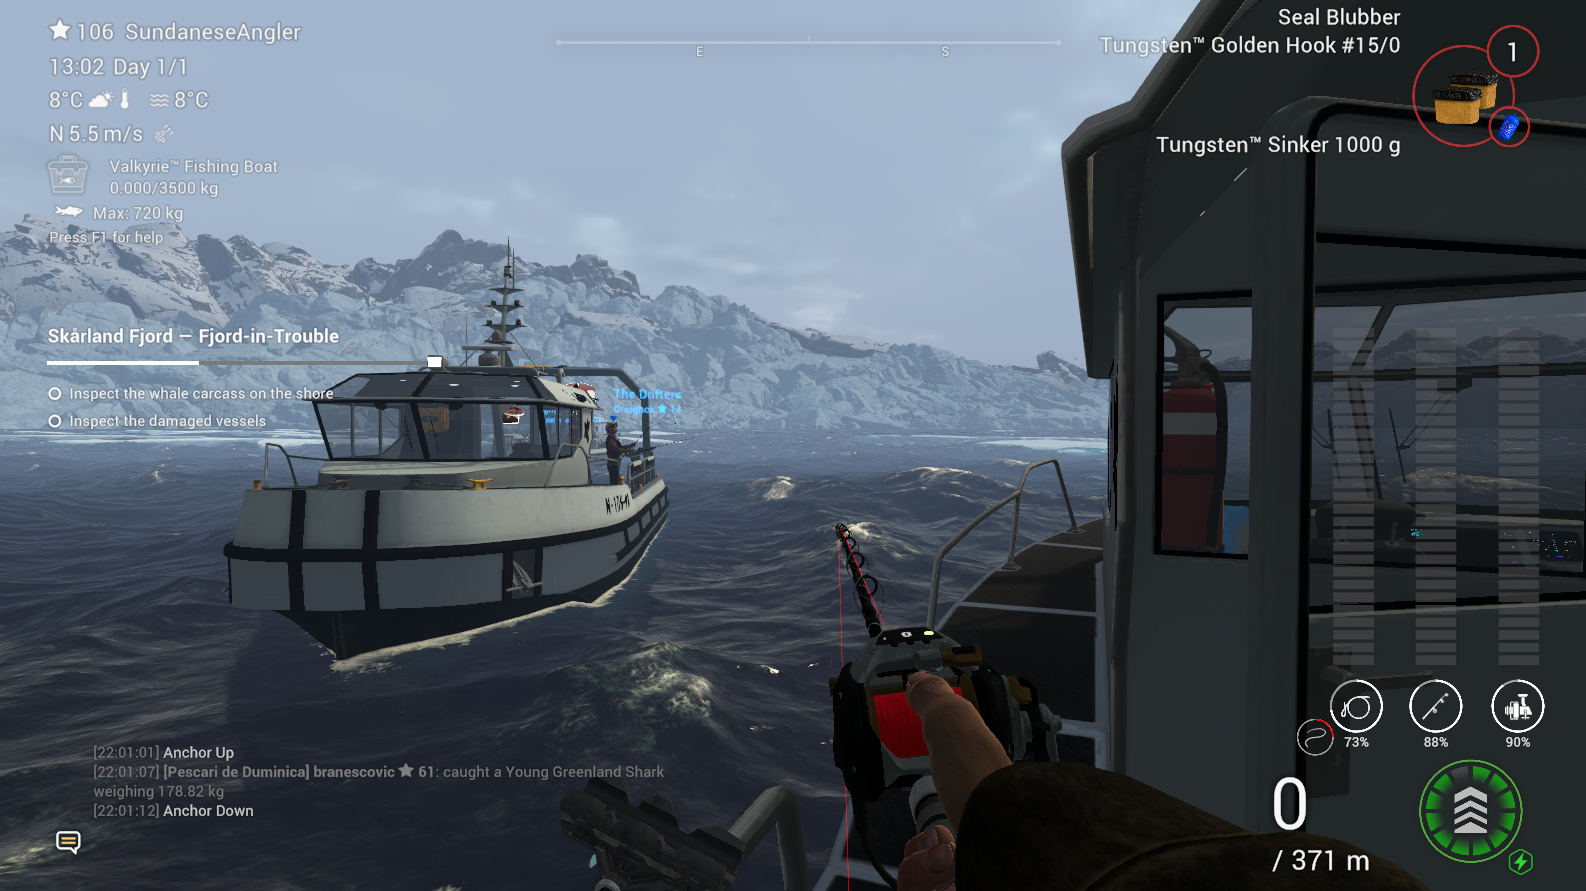
If you have read my Skårland Fjord guides, you have already seen the gear in this pack at work. The Valkyrie Saga Pack is the saltwater bundle that kitted me out for deep bottom fishing in Norway: the boat I run in every saltwater guide, the three electric rods I keep rigged for different weight classes, and the electric reels that winch big fish up from the deep. This is my honest breakdown of what is inside, what the key pieces do, and whether it is worth the money.
What Is in the Valkyrie Saga Pack?
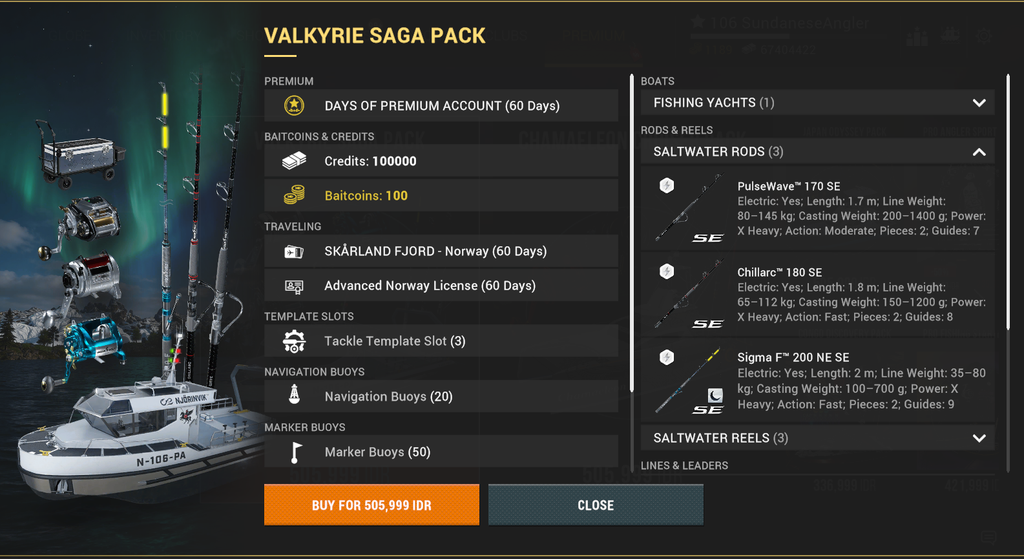
The pack costs 505,999 IDR, which is roughly 30 US dollars, though the exact price varies by region. For that, here is everything you get:
- Boat: the Valkyrie Fishing Boat, a premium saltwater yacht
- Rods: 3 saltwater electric rods (PulseWave 170 SE, Chillarc 180 SE, Sigma F 200 NE SE)
- Reels: 3 saltwater electric reels (AmperDrive X 24000 SE, Arcspark 2W 22000 SE, Glacion 21000 SE)
- Terminal tackle: 9 lines, 21 leaders, 21 hooks, 39 sinkers, 30 baits, 2 equipment items
- Currency: 100,000 credits and 100 baitcoins
- Account and access: 60 days of premium account, 60 days of Skårland Fjord travel, and a 60-day Advanced Norway License
- Quality of life: 3 tackle template slots, 20 navigation buoys, 50 marker buoys, 50 repair kits, and a 100-slot MegaSlot storage box
The Valkyrie Fishing Boat
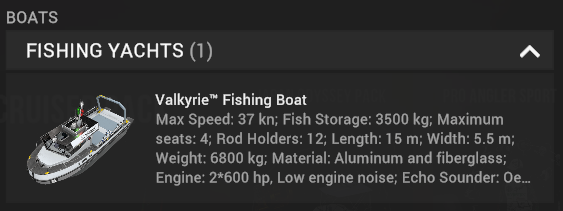
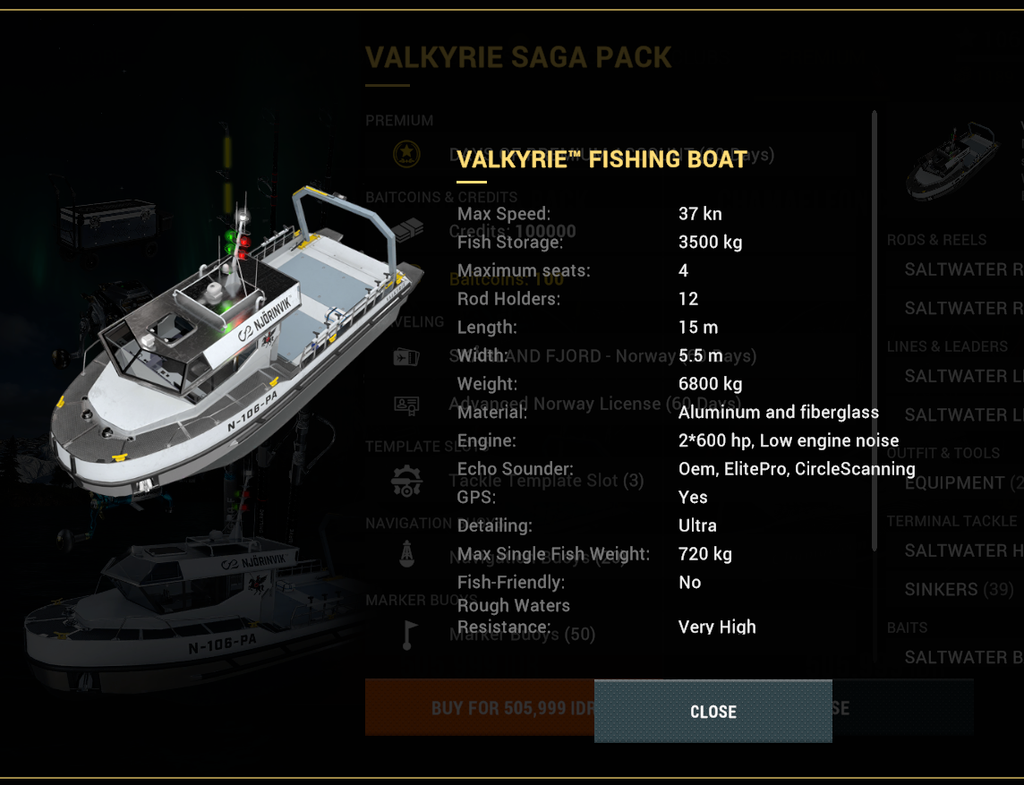
The boat is the centrepiece, and it is the one I fish from in all my saltwater guides. It is a full-size yacht with real capacity, a fast hull, and the electronics you want for finding and marking fish. Here are the numbers that matter.
| Spec | Valkyrie Fishing Boat |
|---|---|
| Max speed | 37 kn |
| Fish storage | 3500 kg |
| Max single fish weight | 720 kg |
| Seats | 4 |
| Rod holders | 12 |
| Length | 15 m |
| Width | 5.5 m |
| Weight | 6800 kg |
| Engine | 2 x 600 hp, low engine noise |
| Echo sounder | Oem, ElitePro, CircleScanning |
| GPS | Yes |
| Rough water resistance | Very High |
The two numbers I lean on most are the 3500 kg storage and the 720 kg single-fish limit. That single-fish limit is what lets the Valkyrie handle the biggest fish I target, and it is the number I reference when I say a catch sat comfortably inside the boat’s limit. The high rough-water resistance also matters in Norway, where the water gets nasty.
The Three Rods
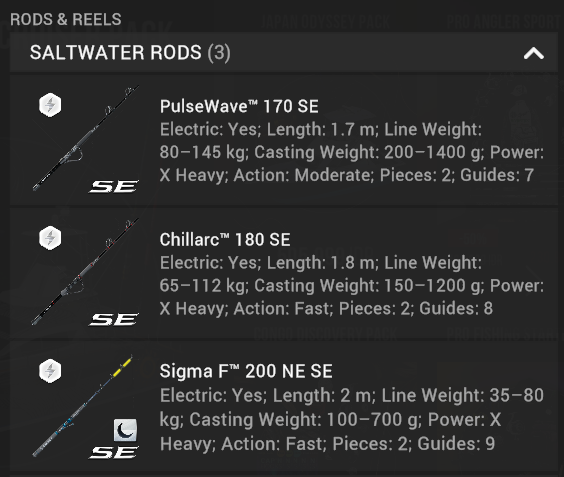
These three rods are the exact three-rod system I run at Skårland Fjord. They are all X Heavy electric bottom casting rods, but each is tuned to a different weight class, so you reach for the right one depending on what is on the sounder. All three are 2-piece and electric.
| Rod | Length | Line Weight | Casting Weight | Action | Guides |
|---|---|---|---|---|---|
| PulseWave 170 SE | 1.7 m | 80 to 145 kg | 200 to 1400 g | Moderate | 7 |
| Chillarc 180 SE | 1.8 m | 65 to 112 kg | 150 to 1200 g | Fast | 8 |
| Sigma F 200 NE SE | 2 m | 35 to 80 kg | 100 to 700 g | Fast | 9 |
In practice, the PulseWave 170 SE is the heavy shark rod, the one I bring out for the biggest fish. The Sigma F 200 NE SE is the light workhorse for the smaller species, and it has a fluorescent tip that helps you see bites in low light after dark. The Chillarc 180 SE sits in the middle. Being electric is the point of all three: winching a heavy fish up from deep water by hand is a good way to snap off, so the E-rods do that work for you.
The Three Reels
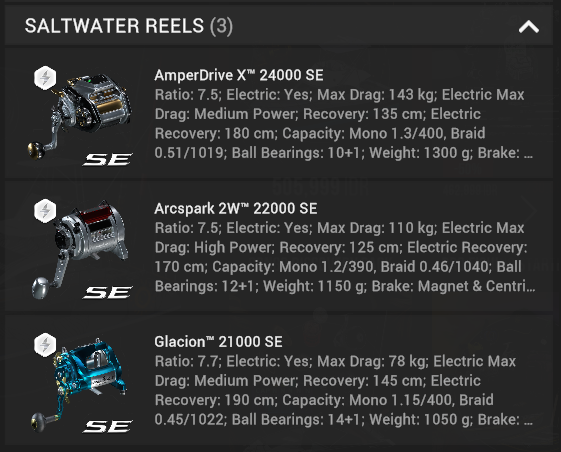
The pack also includes three matching electric reels, so you have a complete rod and reel for each weight class without buying anything extra. All three are electric with a Magnet and Centrifugal brake. The drag number is the one to watch, since it decides how big a fish the reel can stop.
| Reel | Ratio | Max Drag | Recovery | Electric Recovery | Weight |
|---|---|---|---|---|---|
| AmperDrive X 24000 SE | 7.5:1 | 143 kg | 135 cm | 180 cm | 1300 g |
| Arcspark 2W 22000 SE | 7.5:1 | 110 kg | 125 cm | 170 cm | 1150 g |
| Glacion 21000 SE | 7.7:1 | 78 kg | 145 cm | 190 cm | 1050 g |
The AmperDrive X 24000 SE has the biggest drag at 143 kg, so it is the reel I pair with the heavy PulseWave for sharks. The Glacion 21000 SE has the lightest drag at 78 kg and the fastest electric recovery, which suits the lighter workhorse setup. The Arcspark 2W 22000 SE sits between them. Match the reel to the rod by weight class and you have three balanced setups covering everything from the small bottom fish to the biggest sharks.
The Lines
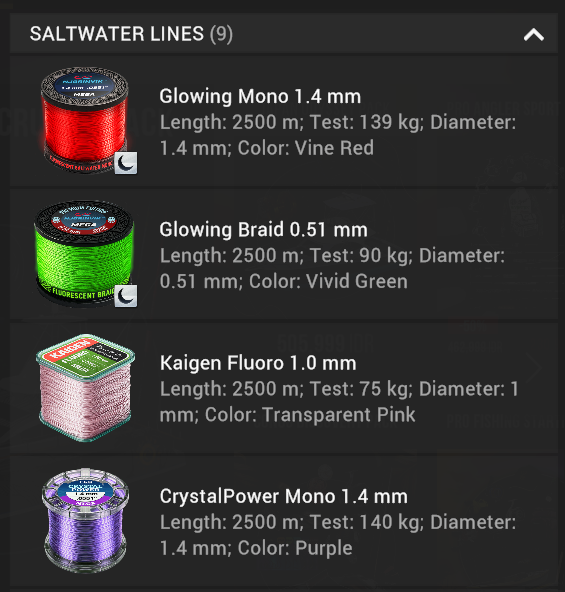
The pack comes with 9 saltwater lines, all spooled at a generous 2500 m, covering different strengths and types. The most useful ones I have run are below. Note the glowing lines, which help you track your rig in low light and at night, exactly the conditions you fish at Skårland.
| Line | Type | Test | Diameter |
|---|---|---|---|
| CrystalPower Mono 1.4 mm | Mono | 140 kg | 1.4 mm |
| Glowing Mono 1.4 mm | Glowing mono | 139 kg | 1.4 mm |
| OceanPower Mono 1.4 mm | Mono | 108 kg | 1.4 mm |
| Glowing Braid 0.51 mm | Glowing braid | 90 kg | 0.51 mm |
| Glowing Mono 1.05 mm | Glowing mono | 77 kg | 1.05 mm |
| Kaigen Fluoro 1.0 mm | Fluorocarbon | 75 kg | 1.0 mm |
The high-test monos like the CrystalPower and Glowing Mono 1.4 mm are your heavy shark lines. The Kaigen Fluoro is the low-visibility choice for clearer water and wary fish, and it is the line I run on my lighter setups. The glowing lines are a genuine help on night sessions.
The Leaders
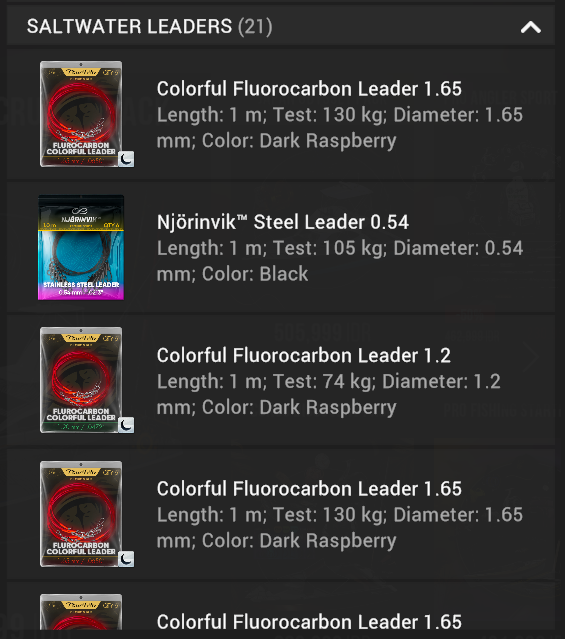
This is the part of the pack I would highlight most, because the right leader matters more than people think. The pack includes 21 leaders across three materials, in a spread of lengths and strengths, so you are covered for almost any fish. The point is to match the material to the situation.
| Leader | Material | Test | When to use it |
|---|---|---|---|
| Njörinvik Steel Leader 0.6 | Steel | 132 kg | Toothy fish, maximum bite protection |
| Colorful Fluorocarbon Leader 1.65 | Fluorocarbon | 130 kg | Heavy, low-visibility for big fish |
| HinomaruClear Fluorocarbon Leader 1.6 | Fluorocarbon | 123 kg | Clear, invisible in clean water |
| Njörinvik Steel Leader 0.54 | Steel | 105 kg | Toothy fish, thinner profile |
| TitanGuard Titanium Leader 0.52 | Titanium | 85 kg | Bite protection with a thin, kink-resistant profile |
| Colorful Fluorocarbon Leader 1.2 | Fluorocarbon | 74 kg | Lighter setups |
| HinomaruClear Fluorocarbon Leader 1.15 | Fluorocarbon | 70 kg | Lighter, clear-water setups |
The simple rule: use fluorocarbon for its low visibility in clear water, and switch to a steel or titanium leader when you are chasing a fish with teeth that would bite through fluoro. The heavy Njörinvik steel is what you want for the biggest, toughest fish, while the fluorocarbon leaders are the everyday choice. Having all three materials in one pack means you rarely have to buy a leader separately.
The Equipment: Tackle Wagon and Rod Case
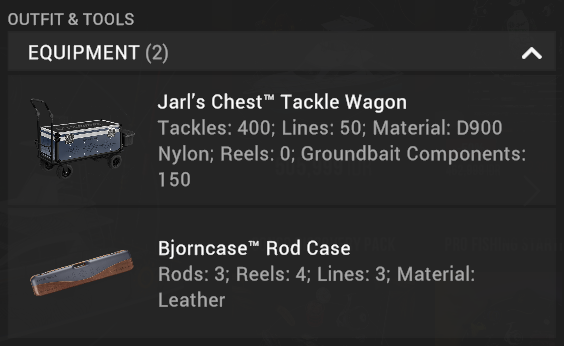
The two equipment items are about carrying capacity, which quietly matters a lot once you fish seriously. The Jarl’s Chest Tackle Wagon holds 400 tackles, 50 lines, and 150 groundbait components, so it is a big storage upgrade for all your terminal tackle. The Bjorncase Rod Case carries 3 rods, 4 reels, and 3 lines, which is exactly enough for the three rod and reel setups in this pack. Together they let you take your full kit out without leaving anything behind.
The Hooks and Sinkers
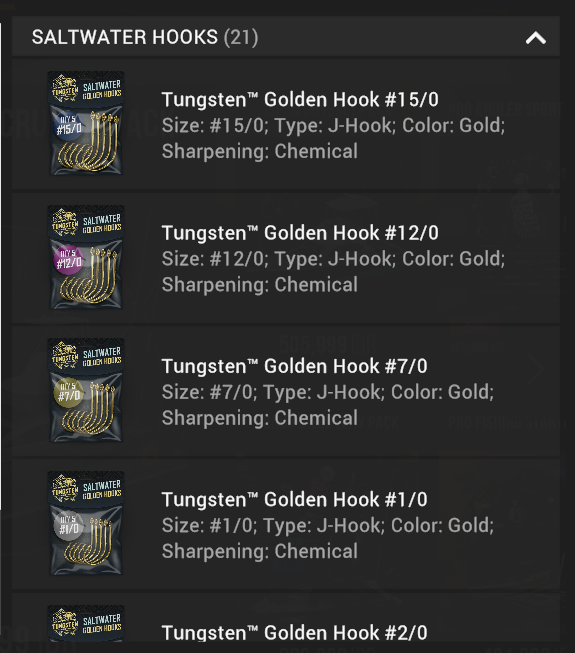
The pack includes 21 saltwater hooks, all the Tungsten Golden Hook, a chemically sharpened gold J-hook. What you get is the full size range, from a small #1/0 all the way up to a huge #15/0 and #16/0. That range is the point: you have the right hook for anything from a modest bottom fish to a giant shark without buying more. For reference, the #15/0 is the hook I run in my heavy shark rig, since its size and side barbs lock in a fish that fights as long and hard as a Porbeagle.
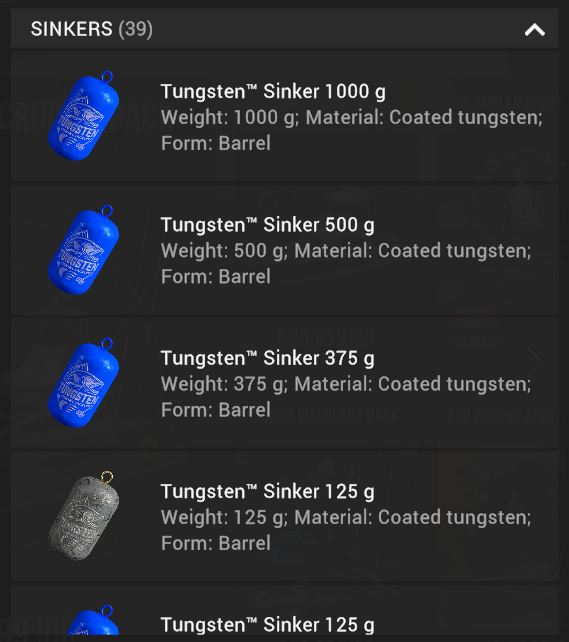
The pack also comes with 39 sinkers, all coated tungsten barrel sinkers, in the full weight range and in two colours, plain and blue, which is why the count is so high. Tungsten is dense, so it holds bottom well in current without being bulky. The weights are below.
| Sinker | Weight | When to use it |
|---|---|---|
| Tungsten Sinker 1000 g | 1000 g | Deep water and strong current, big fish |
| Tungsten Sinker 750 g | 750 g | Deep bottom work in strong current |
| Tungsten Sinker 500 g | 500 g | Deep bottom work in moderate current |
| Tungsten Sinker 375 g | 375 g | My workhorse weight for mid-range setups |
| Tungsten Sinker 250 g | 250 g | Mid-range setups in lighter current |
| Tungsten Sinker 125 g | 125 g | Lighter rigs and calmer water |
The 1000 g sinker is the one I use to hold bottom in the strong currents out in open water for sharks, and the 375 g is my everyday workhorse weight. Between these you are covered for the full depth and current range on a saltwater map.
The Baits
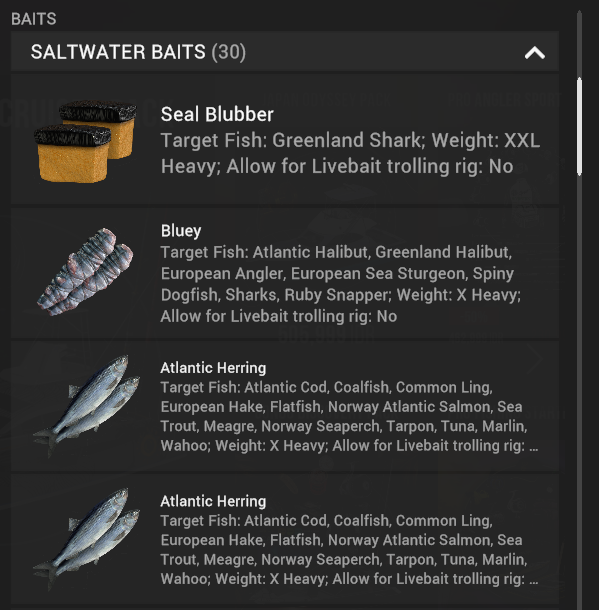
The pack includes 30 saltwater baits, and this is the part that quietly widens its value. They are not all Norway baits. The set covers both the cold-water species you fish at Skårland Fjord and the warm-water and reef species you find on maps like Kaiji No Ri in Japan. So while the travel and license in this pack are Norway-only, the baits themselves follow you to other saltwater maps. Here is a representative selection from the 30.
| Bait | Notable Targets | Weight |
|---|---|---|
| Seal Blubber | Greenland Shark | XXL Heavy |
| Gutted Fish | Grouper, Shark, Big Catfish, Beluga | XXL Heavy |
| Bluey | Halibut, Sharks, Dogfish, Sturgeon | X Heavy |
| Atlantic Herring | Cod, Ling, Hake, Salmon, Tuna, Marlin | X Heavy |
| Scaled Sardines | Greater Amberjack, Tuna, Tarpon | X Heavy |
| Japanese Spiny Lobster | Giant Grouper | X Heavy |
| Japanese Anchovy | Japanese Amberjack, Striped Bonito, Mahi-Mahi | Med-Heavy |
| Finger Mullets | Mahi-Mahi, Striped Bonito, Small Tuna | Med-Heavy |
| Shrimp | Bigfin Reef Squid and others | Medium |
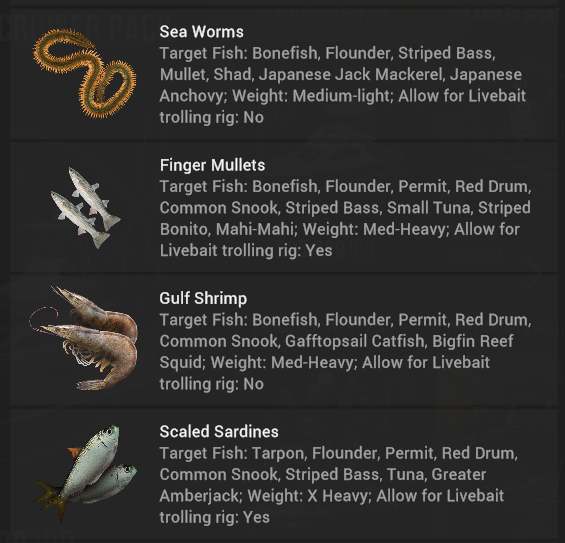
The heavy baits like Seal Blubber and Gutted Fish are your big shark and grouper offerings, while lighter ones like Japanese Anchovy and Finger Mullets suit the smaller Japanese species. A few baits, including Lesser Sand Eel, Finger Mullets, and Japanese Anchovy, also allow a livebait trolling rig, which the heavier dead baits do not. Between them, this bait box covers a huge spread of saltwater fish across more than one map.
Is the Valkyrie Saga Pack Worth It?
Here is my honest take. If you are heading to Skårland Fjord or any deep saltwater fishing in Norway, this pack kits you out completely in one purchase. The boat alone is a premium yacht, and getting it together with three balanced electric rod and reel setups, 100,000 credits, 60 days of premium, the travel, the license, and a pile of consumables is a strong deal for around 30 dollars. It is essentially the whole Skårland Fjord starter kit in a box, which is exactly how I used it.
But there are three things to be clear about before you buy. First, the travel and the license are Norway-specific: you get 60 days of Skårland Fjord access and an Advanced Norway License, so that part of the value only applies if you actually fish Norway. If your goal is a different map like Kaiji No Ri in Japan, the travel and license here do not help you there. Second, this is premium currency, real money, not in-game coins. If you enjoy grinding, you can earn a boat and gear the slow way, and the pack is really about skipping that grind. Third, the gear is specialised for deep saltwater bottom fishing. The electric winching rods and reels are built for hauling big fish up from depth, so this is not a general-purpose or freshwater pack.
So the pack makes the most sense for one player: someone who wants to fish deep saltwater in Norway and would rather buy in fully equipped than grind for the boat and rods. If that is you, it is good value. If you only want the boat, or you are not fishing Norway, work out whether the rest of the bundle is gear you will actually use before you spend.
To see this gear in action, my Skårland Fjord setup guide covers the map it is built for, and my Porbeagle Shark guide shows the heavy PulseWave and AmperDrive setup landing one of the biggest payouts on that map.